Create a new Web App in Root Folder using Isolated Development Model with Source Control
We are using the recommendations outlined in the document: Team Development with Visual Studio .NET and Visual SourceSafe http://msdn.microsoft.com/library/en-us/dnbda/html/tdlg_rm.asp
Project Structure
This is the Project structure that we will be using:
In SourceSafe:
|
$/Projects |
Root of all Projects |
|
/MySystem |
Root of this system |
|
/MyWebAppSolution |
Solution folder |
|
/MyWebApp |
Root of WebApp project |
The File system structure is identical:
|
D:\Projects |
Root of all Projects |
|
\MySystem |
Root of this system |
|
\MyWebAppSolution |
Solution folder |
|
\MyWebApp |
Root of WebApp project |
In Visual InterDev you had a Master Web where the files
were stored (e.g., C:\Inetpub\wwwroot\MyProject)
and a Local Project where your project files were stored (e.g. C:\Projects\MyProject\MyProject_Local).
In VS.NET, the web files will actually be stored in the project folder because we will be working in Isolated mode. That is, each developer will have their own local copy of the web files and will check-in/check-out files from the SourceSafe database.
Since our web app project is created as a ROOT project, we will need to create a new web site to host our project. Unfortunately, nothing is ever easy as you’ll see below.
The document root for our new web site will be the project folder. So for our project MyWebApp, we need to create a new web site rooted at D:\Projects\MySystem\MyWebAppSolution\MyWebApp
Create a new web site
Windows 2000/XP Professional have a built-in web service. However, unlike Windows 2000 Server, these versions can not host multiple Web Sites simultaneously. In fact, the IIS MMC does not even give you the option of creating a new web site.
Therefore we have to rely on the IIS Admin objects to programmatically create a new web site. There is a script that comes with Windows 2000 Server (C:\Inetpub\AdminScripts\mkw3site.vbs) that we can run on the workstation to create a new web site. The following commands will create a new web site on localhost with the root set at the project folder. We will eventually add a host header to it, but due to a peculiarity of VS.NET, we have to use localhost for now.
We need to create this Folder structure first. Then we’ll create the web site.
mkdir
d:\Projects\MySystem\MyWebAppSolution\MyWebApp
cscript mkw3site.vbs -r D:\Projects\MySystem\MyWebAppSolution\MyWebApp -t mywebapp -v --DontStart
We’ll add an entry into the hosts file for mywebapp which will be used later.
notepad %systemroot%\system32\drivers\etc\hosts
Add this line at the end
127.0.0.1 mywebapp
Now if you open the IIS MMC, you will see your new web site created. You have to make some changes to the properties for this site.
1) Right-click on your new web site and click on Properties
2) Select the Home Directory tab
3) Change Execute Permissions to “Scripts Only”
4) Change Application Protection to “Medium (Pooled)”
5) Click Ok.
Now we need to start up the web site. You have to stop the currently running site, and then start the new site.
Creating a New Project
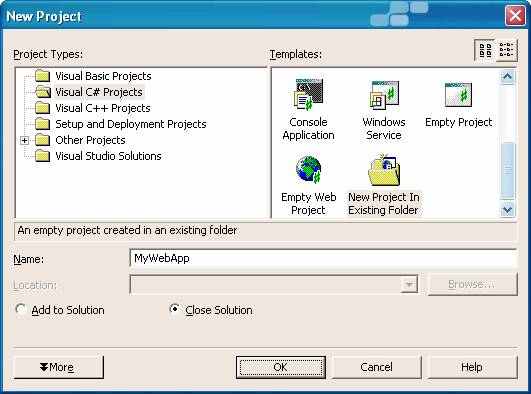
Now we are ready to create the new project. Lauch VS.NET and select File | New… | Project…
Select Project Type: Visual C# Projects, and choose the template New Project in Existing Folder.
Name the Project: MyWebApp and click Ok.
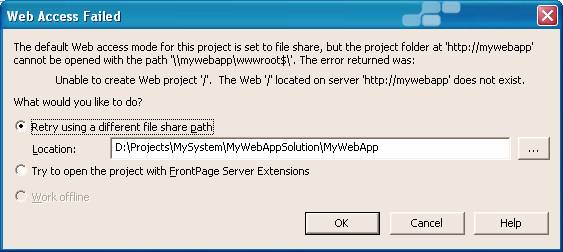
In the Folder location type, http://mywebapp

VS.NET will give you an error message and you will need to
enter the actual folder path to the project. In this case: D:\Projects\MySystem\MyWebAppSolution\MyWebApp
The new project should now be created. If you notice, VS.NET will automatically create a new solution for this project. Unfortunately, it uses the same name as the project and also puts it in the wrong place. So we are going to change these now.
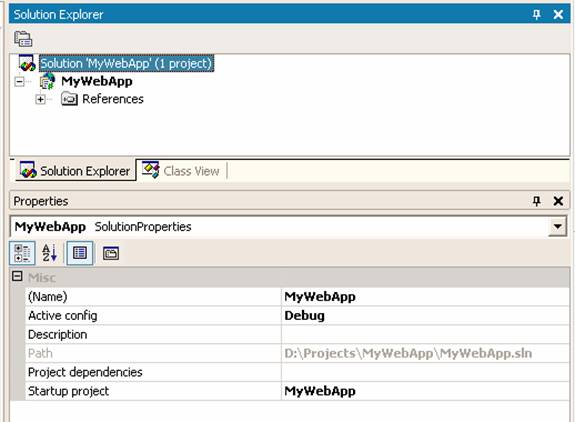
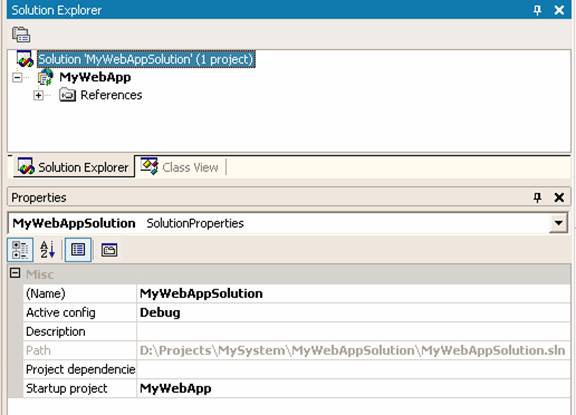
Select the solution in the Solution Explorer, and in Properties, change the name to MyWebAppSolution.
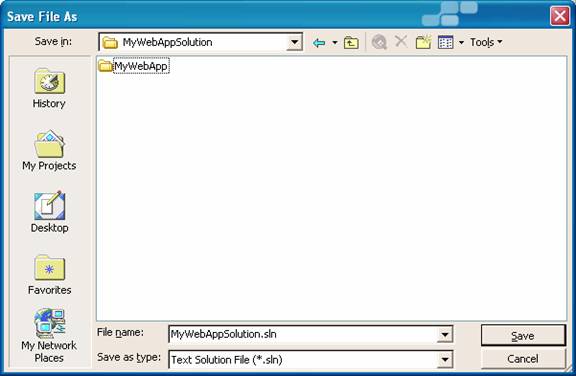
Select File | Save Solution As… and navigate to the D:\Projects\MySystem\MyWebAppSolution and save the file as MyWebAppSolution.
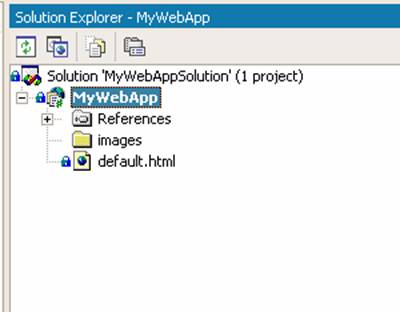
Now the Solution Explorer should look like this:
If this was an existing web site which already contained files and folders, you can include them in your new project.
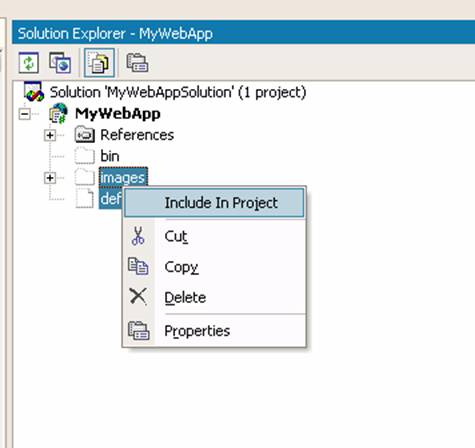
Select the project, then click on the button “Show All Files” (3rd button). This will show all the files in the project folder. Note that the icons for these files are not in color.
Select the files and folders you want to include, then
right-click and choose Include In Project. Note: you
should not include the bin folder as
this is created by VS.NET to contain the output of your WebApp
project and should not be included in SourceSafe.
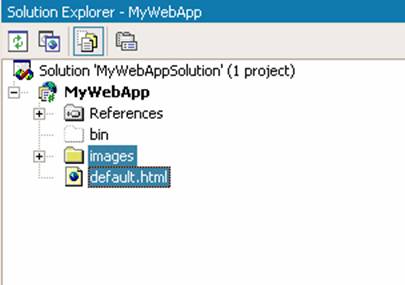
Once you have included the files, you will notice that icons are now in color, indicating that they are part of the project.
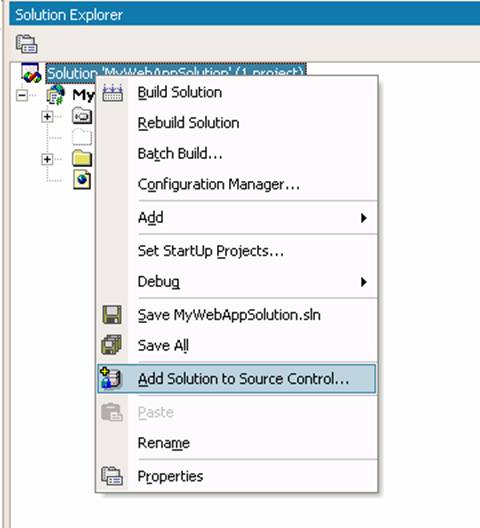
Add Solution to Source Control
We are now ready to add this solution to Source Control.
Select the Solution, and right-click, then choose Add Solution to Source Control…
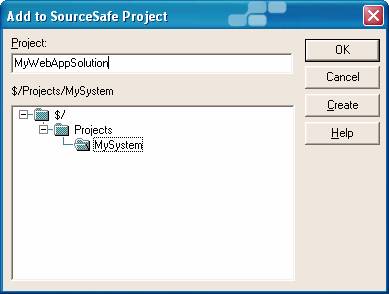
You will now be prompted to select the project in SourceSafe. Make sure that MySystem is selected, and enter MyWebAppSolution as the project name and click Ok. Note: You may need to create the $/Projects and MySystem projects in SourceSafe.
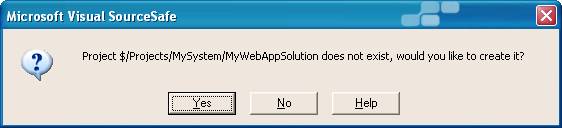
SourceSafe will ask if you want to create the Project. Select Yes.
Now we need to create a project for MyWebApp. Again, make sure that MyWebAppSolution is selected, and enter MyWebApp as the project name. Click Ok.
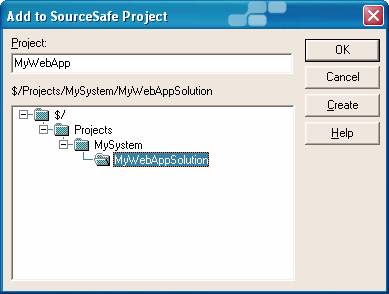
Select Yes, you want to create the project.

Once the solution has been added to Source Control, you should see the lock icons next to each of the files.
Congratulations, you have successfully added this solution to Source Control.
This process needs to be done the first time a new solution is created. We will now discuss the process other team members need to use to start working on that solution locally on their own development workstation.
One last thing that should be done, and this is mainly as a cautionary measure, is to set the host header of the new web site. This is just an extra step to ensure that we are always using the correct web site, since we can only run one web site at a time. Otherwise we might accidentally update the wrong files.
Set Host Header
To set the host header for the new web site so we can access it using http://mywebapp, perform the following steps.
1) Open IIS MMC and view the Properties for the new web site.
2) Select the Web Site tab
3) Click on Advanced… next to IP Address drop down
4) Select the first entry and click Edit.
5) Enter the Host Header Name as mywebapp and port as 80.
6) Click Ok and close out of Properties
Open a Solution from SourceSafe
This is the process that another developer will use to start working on a solution that has already been added to source control.
The first thing that needs to be done on this workstation is to create the web site as we had done before in the process “Create a new web site”.
Now that we have done that, we are ready to open the solution. Again, nothing is ever easy. The first problem we encounter is that because this is a web application and we have set the Web Access setting to File Share versus FrontPage Extensions, we have to do things in a particular way. It’s complicated also by the fact that we are creating our project in a root web instead of a sub web.
When you try to open a web project from SourceSafe, you’ll be prompted for the project location. This must be a valid URL. Unfortunately, the only valid URL that seems to work is http://localhost. That is why we had to leave our new web site as localhost instead of as a virtual host.
The reason is that VS.NET will try to get the files from SourceSafe and place them in \\localhost\wwwroot$. It doesn’t even ask you where you want to put it, and just gives you an error and stops loading the project. That stinks.
So how do we get around this? Simple, just create a share to your project folder D:\Projects\MySystem\MyWebAppSolution\MyWebApp and name it wwwroot$. There may already be a share by that name. You’ll just have to replace it with this one. This step is temporary and only necessary for the initial process of opening the solution from SourceSafe.
net share wwwroot$ /DELETE
net share wwwroot$=D:\Projects\MySystem\MyWebAppSolution\MyWebApp
Once the preliminaries are completed, we can launch VS.NET.
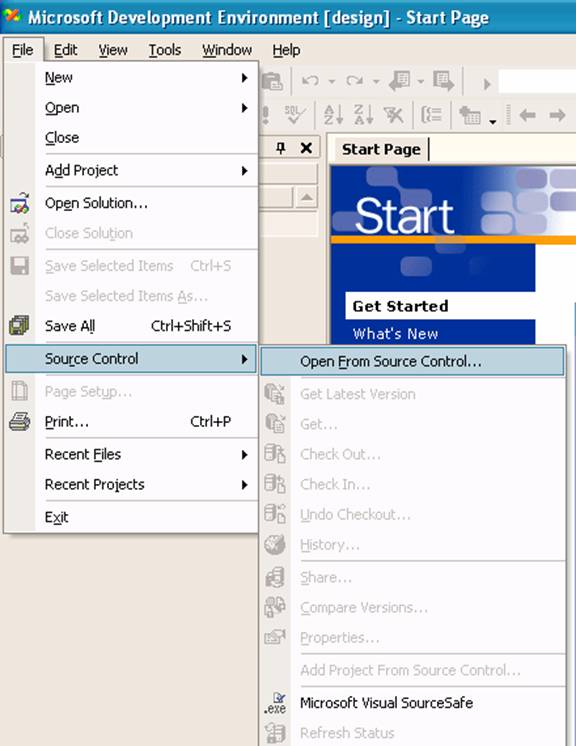
Select File | Source Control | Open From Source Control…
The SourceSafe dialog will now open. Navigate to the project MyWebAppSolution and make sure that the local path is also set properly. Browse to the folder if it is blank. Then click Ok.

You will now be prompted for the Project Location for MyWebApp. Again, due to what appears to be an assumption in VS.NET, the only URL that works here is http://localhost.

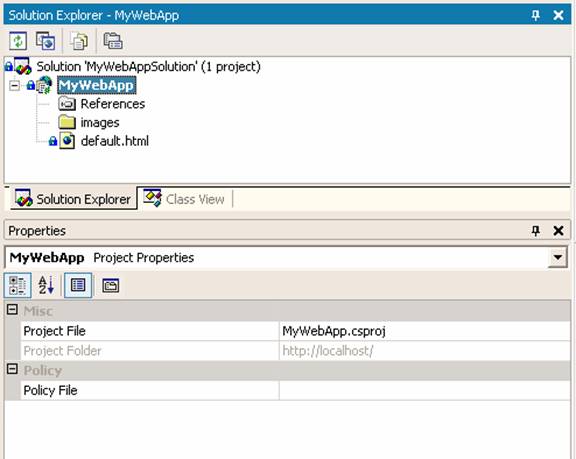
At this point, VS.NET will get the latest version of files from SourceSafe and copy them to the project folder \\localhost\wwwroot$ which as we did above points to our project folder. We can see that we did indeed get the solution successfully from SourceSafe. However, note that the Project Folder is http://localhost instead of http://mywebapp which we want.
We need to exit out of VS.NET so we can make the necessary changes.
First thing that needs to be done is to set the host header as described above in “Set Host Header”.
Afterwards, we need to update the project file to point to http://mywebapp instead of http://localhost
1) Using Notepad, open the file MyWebApp.csproj.webinfo in the folder D:\Projects\MySystem\MyWebAppSolution\MyWebApp
2) Modify the URLPath attribute and change http://localhost to http://mywebapp
3) Save the file
That is it. You can now open the Solution in VS.NET.
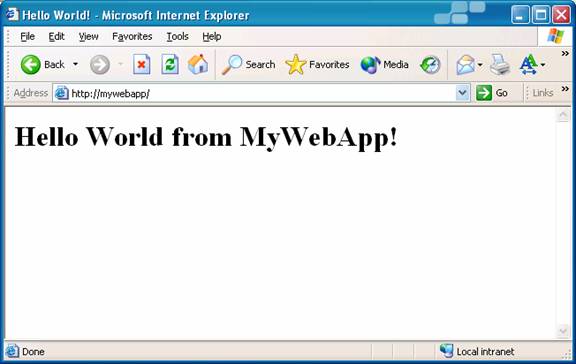
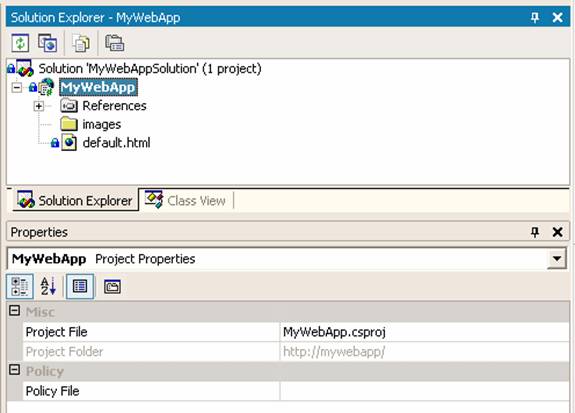
Notice now that the Project Folder is now http://mywebapp/
You should now be able to browse to http://mywebapp on your local machine and see the contents of the web site.